Introduction
I recently started working on a project where I want to use the RP2040 on a custom board. FYI, the RP2040 is the “chip” used on the Raspberry Pi Pico development board.
Development for this board is actually quite straight forward, or at least if you’re on Linux, because that’s what most of the documentation is written for. You simply clone the SDK, install a few prerequisites and start building. You can then simply plug in your board via USB and drag-and-drop your binary file onto the mass storage devices that it shows up as to get things going.
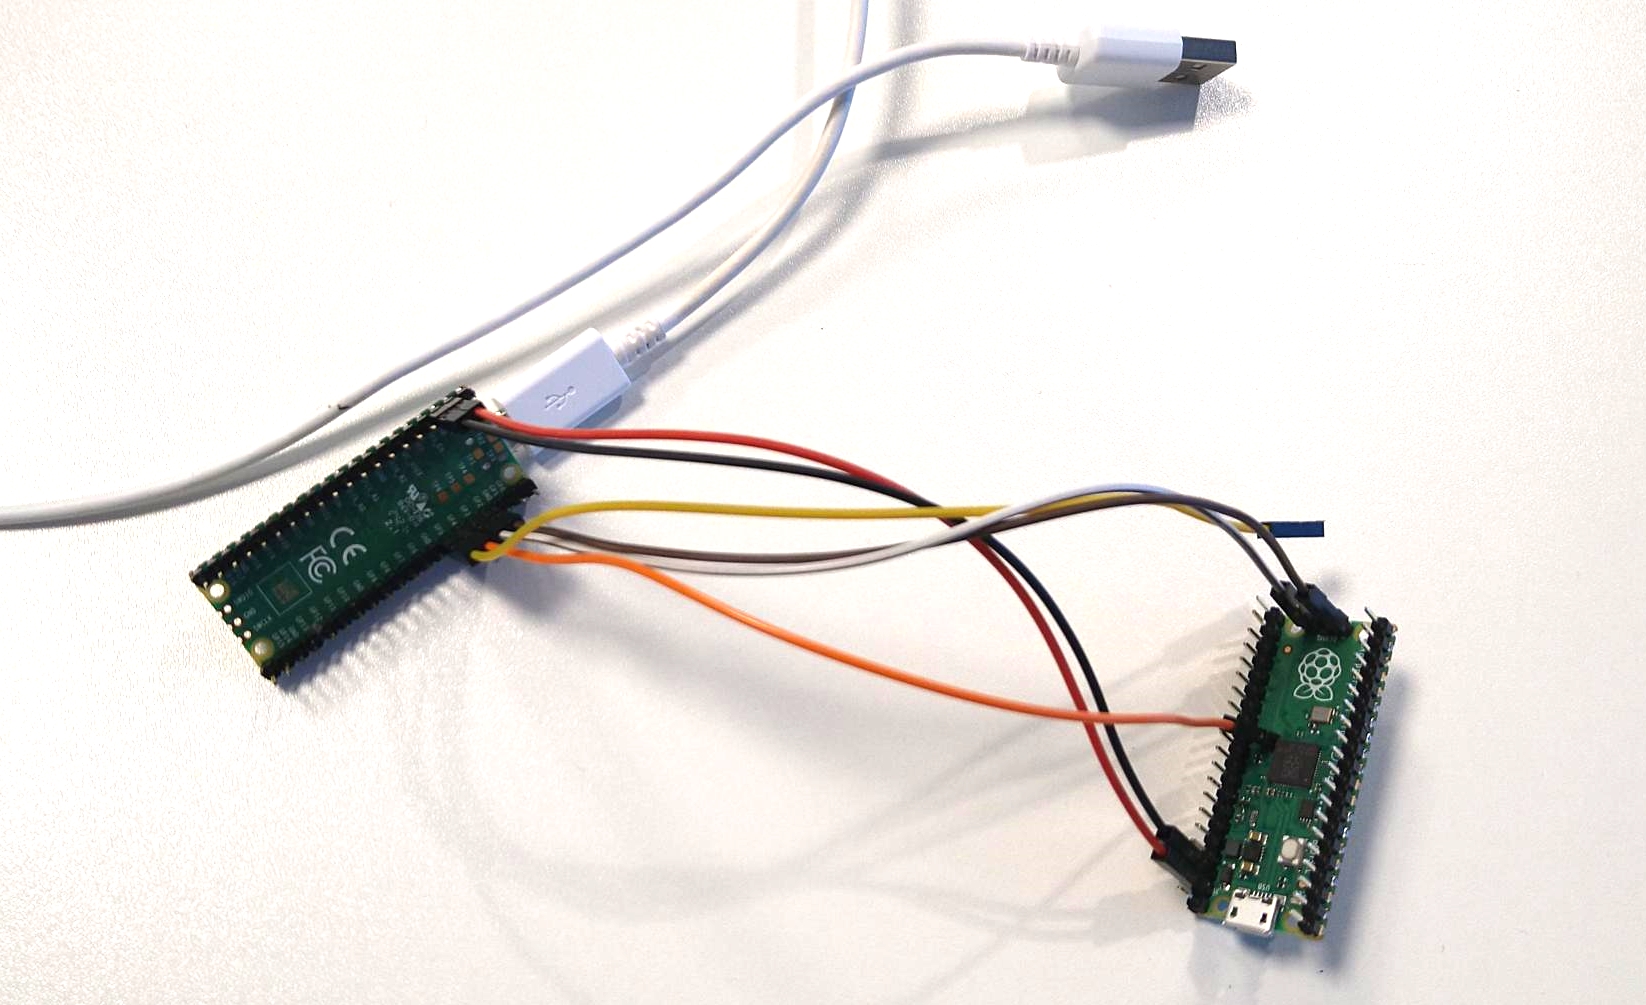
This works fine when you only want to run something, but it’s not terribly useful when you want to debug your code. There are two ways that you can debug your code with this MCU. Either you can use a real Raspberry Pi as a debug probe/host environment or you can repurpose a spare Raspberry Pi Pico as a USB debug probe that you can plug into your host PC. Obviously I prefer the latter as I don’t want to use a Raspberry Pi as my development machine, and I also don’t want to bother setting one up as a networked remote debugger.
Don’t get me wrong, development for the RP2040 using Windows native is definitely possible. But, speaking from personal experience, it is very painful; requires installing a lot of funny stuff and is generally not worth it. Using WSL is just so much more convenient to get things up and running. However, if you try to use a USB debug probe like I did, you quickly run into a gotcha. This gotcha, of course, is that USB support inside WSL is not particularly great at the moment.
The solution to this is actually to do most of your development inside of WSL, but to run the PicoProbe version of OpenOCD on Windows native and to then simply connect over localhost. However, in this case “localhost” itself doesn’t actually work because WSL and Windows have different IPs; but we’ll get to that…
So the goal of this blog post is simply to describe how I got the aforementioned setup working.
Building OpenOCD
First install MSYS2 so that you can install the necessary tools for native Windows.
You then want to launch MSYS2 MinGW x64 and install said tools using:
pacman -S mingw-w64-x86_64-toolchain git make libtool pkg-config autoconf automake texinfo mingw-w64-x86_64-libusb
Finally you can build OpenOCD using:
git clone https://github.com/raspberrypi/openocd.git --branch rp2040 --depth=1
cd openocd
./bootstrap
./configure --enable-picoprobe --disable-werror
make -j4
Make sure to have a RPi Pico with the PicoProbe firmware installed connected to your machine and then it should now be possible to fire up OpenOCD using:
src/openocd -f interface/picoprobe.cfg -f target/rp2040.cfg -s tcl -c "bindto 0.0.0.0"
The bindto 0.0.0.0 differs from what you will find in the standard docs, but is critical in this case as by default, OpenOCD only binds to localhost.
Connecting GDB to OpenOCD
Now that we have OpenOCD running on native Windows, we can get back to our WSL environment where we want to do our actual development. Here we also want to use GDB. However, as I have previously mentioned, WSL and Windows have two different IP addresses, so you can’t just use localhost between the two.
To find the IP address of your Windows environment, simply run the following inside WSL:
cat /etc/resolv.conf
And then take note of the address next to “nameserver”. In my case this was “172.24.224.1”.

Finally it should now be possible to launch GDB inside WSL using e.g.
gdb-multiarch blink.elf
And to then start debugging using the following GDB commands:
target remote 172.24.224.1:3333
load
Below is an example of setting and hitting a breakpoint:

References
Most of my information comes from the official Getting started with Raspberry Pi Pico document which I highly recommend you read if you want to get this working yourself. My post is only a supplement to that guide which outlines what you need to do differently for WSL.
I read Accessing network applications with WSL to get a better understanding of how networking works with WSL.